
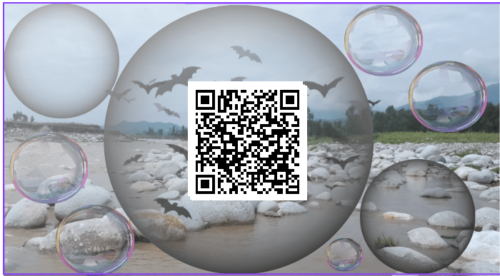
Decoding the Secrets: how to Create QR Codes in Canva Like a Pro
This guide unveils the secrets of “how to create QR codes in Canva”, the design tool that makes it easy-peasy. QR codes can bridge the gap between print and digital in a flash! But how do you make one? This guide unveils the secrets of creating QR codes in Canva, the design tool that makes it easy-peasy. Learn the steps, unleash your creativity, and get ready to scan and connect!
Table of Contents
Step 1: Accessing the QR Code Arsenal
There are two ways to enter the QR code realm in Canva:
Apps tab:
Open your design and navigate to the left-hand panel. Click on “Apps” and explore the “Create something new” section. Here, you’ll find the mighty “QR Code” waiting to be unleashed.
Direct creation:
Feeling adventurous? Skip the Apps tab and go straight to the “Create a design” section. Look for the diverse range of layouts and choose “QR Code” to start fresh.
Step 2: Feeding the Code with Information
Now comes the most important part: what do you want your QR code to do? Here are your options:
Website Link:
This is the classic choice. Enter the URL you want people to be directed to when they scan the code. Boom! Instant digital connection.
Text:
Need to share a quick message, quote, or contact information? Opt for the text option and type away. Just remember, longer messages might require a bigger QR code for scannability.
Email:
Want to connect directly? Input an email address and watch your QR code become a gateway to your inbox.
Phone Number:
Make it easy for people to call you by encoding your phone number in the code. Perfect for business cards or flyers.
SMS:
Send a pre-written text message with a single scan by entering the recipient’s number and your message.
Social Media:
Connect directly to your Facebook, Instagram, or LinkedIn profiles with a dedicated QR code.
Step 3: Customization Magic
Canva doesn’t just generate QR codes; it lets you unleash your inner artist! Explore the customization options:
Colors:
Ditch the standard black and white. Match your brand colors, choose something eye-catching, or make it blend seamlessly with your design.
Foreground and Background:
Play with these settings for even more control over the code’s appearance.
Margin:
Adjust the white space around the code for better placement and visual balance.
Step 4: Level Up Your Code Game (Optional)
For the truly design-savvy, Canva offers even more:
Error Correction:
Enhance scannability even if parts of the code are damaged by adding error correction levels.
Logo Integration:
Add your brand logo to the center of the code for a professional touch.
Call to Action:
Include a short text prompt (e.g., “Scan to Learn More”) to entice people to scan.
Step 5: Download and Share Your Masterpiece:
Once you’re happy with your creation, download it in high-resolution formats like PNG or JPG. You’re now ready to share your QR code on social media, print it on marketing materials, or embed it on your website. Remember, test your code before sharing to ensure it scans smoothly.
Bonus Tips for QR Code Mastery:
Size Matters:
Ensure your QR code is large enough to scan easily. Consider the viewing distance and adjust the size accordingly.
Clear Placement:
Choose a clutter-free spot on your design where the code stands out and is easily identifiable.
Test, Test, Test:
Before printing or publishing, scan your code with your smartphone to ensure it works flawlessly.
Track and Analyze:
Use QR code analytics tools to see how many people scan your codes and gather valuable insights.
With these steps and tips, you’re now equipped to create QR codes that are not only functional but also visually appealing. So, go forth, decode the world, and connect with your audience in exciting new ways!
You may also check: 10 BEST FREE KEYWORD GENERATOR TOOLS

Revolutionize Your Manufacturing Process with a 3D Printer
3D Printers http://3d-ruyter53.ru .